DIY Halloween Peek-a-Boo Pumpkin: How to Make and Color Step by Step

Looking for a fun, simple, and creative Halloween coloring craft? This step-by-step guide will show you how to design, color, and cut out your very own Peek-a-Boo Pumpkin – complete with a surprise roll that slides through its mouth for spooky fun. Perfect for Halloween parties, cozy craft days, or just a festive activity at home.
⚠️ Adult supervision is required. Some steps involve scissors, cutting, and preparing rolling pieces of card, which must be done carefully by an adult or with close supervision.
What You Will Need
- Square sheet of card or paper (you can cut Letter or A4 to size)
- Pencil and eraser
- Scissors (safety scissors for kids)
- Optional: Craft knife (adults only)
- Non-toxic coloring supplies (colored pencils, crayons, or markers)
- Extra strip/roll of card or paper for the Peek-a-Boo feature
Safety Notes
- Scissors: Always use child-safe scissors when possible. Adults should supervise or help with all cutting, and only an adult should cut the mouth slit.
- Outlining: Markers can smudge or stain – supervise their use and allow ink to dry before coloring.
- Work Surface: Always use a clean, flat surface. Place a safety board or cutting mat underneath when cutting slits. Keep sharp tools stored safely.
- Peek-a-Boo Roll: Use thinner card or paper for the roll so it slides easily without tearing the pumpkin.
DIY Peek-a-Boo Pumpkin Step by Step Guide
Step 1:
Start with a square sheet of card or paper. If you’re using Letter or A4 paper, simply cut it down to a square.

Step 2:
Begin drawing the outline of your pumpkin lightly with a pencil. Don’t worry if it’s not perfect – you can always use an eraser to adjust the shape.

Step 3:
Draw the pumpkin’s face with a pencil, adding triangle eyes and a nose. Sketch the mouth where the Peek-a-Boo feature will appear, making sure it’s large enough to cut later.

Step 4:
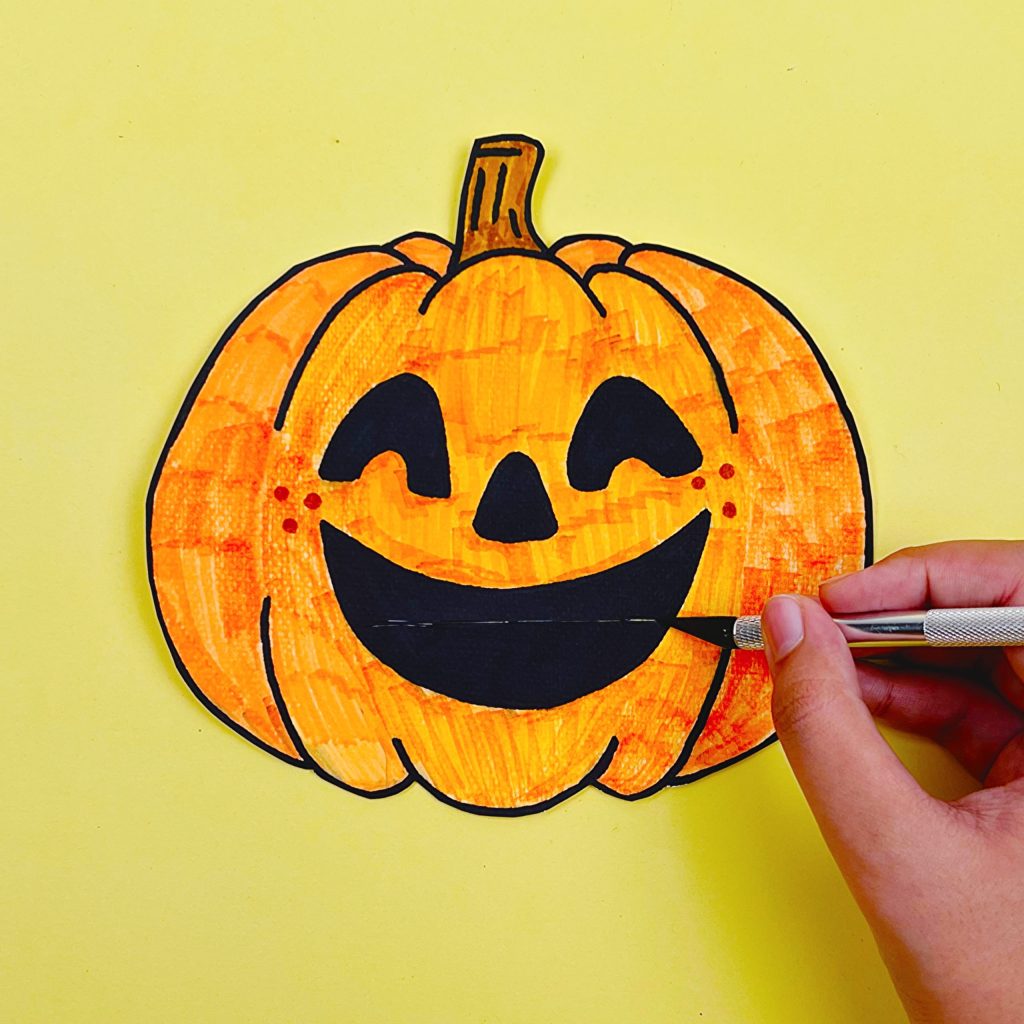
Go over your pencil drawing with a black marker. This will make the pumpkin face bold, clear, and easier to color and cut out later.

Step 5:
Color in your pumpkin using markers, crayons, or colored pencils. Add details such as shading, lines along the pumpkin’s curves, or highlights to give it more depth and a 3D look.


Step 6:
Carefully cut out the pumpkin along the outer outline. Use child-safe scissors if possible, and have an adult do this step or supervise closely, especially if the card is thick.

Step 7:
Cut a slit along the pumpkin’s mouth to create the Peek-a-Boo feature. Take extra care with this step – place a safety board or cutting mat under the pumpkin, and ensure an adult handles the cutting.
Step 8:
Prepare a roll of thinner card or paper for the Peek-a-Boo feature. Its width should be just slightly shorter than the mouth slit you created, so it can slide through smoothly.

Step 9:
Test the Peek-a-Boo feature by gently sliding the roll of card through the pumpkin’s mouth slit. Make sure it moves smoothly without tearing the card or paper.


Step 10:
Draw fun and spooky designs on the Peek-a-Boo roll of card or paper, then add color and details. Each drawing will appear as a surprise when the roll is pulled through the pumpkin’s mouth – think ghosts, bats, cats, sweets or silly faces! 👻🎃


Let us know how your Peek-a-Boo pumpkin turned out in the comments.
Also see our guides on a simple DIY pumpkin Halloween mask and a simple DIY Halloween lantern. Our Halloween finger puppets are also easy to make!