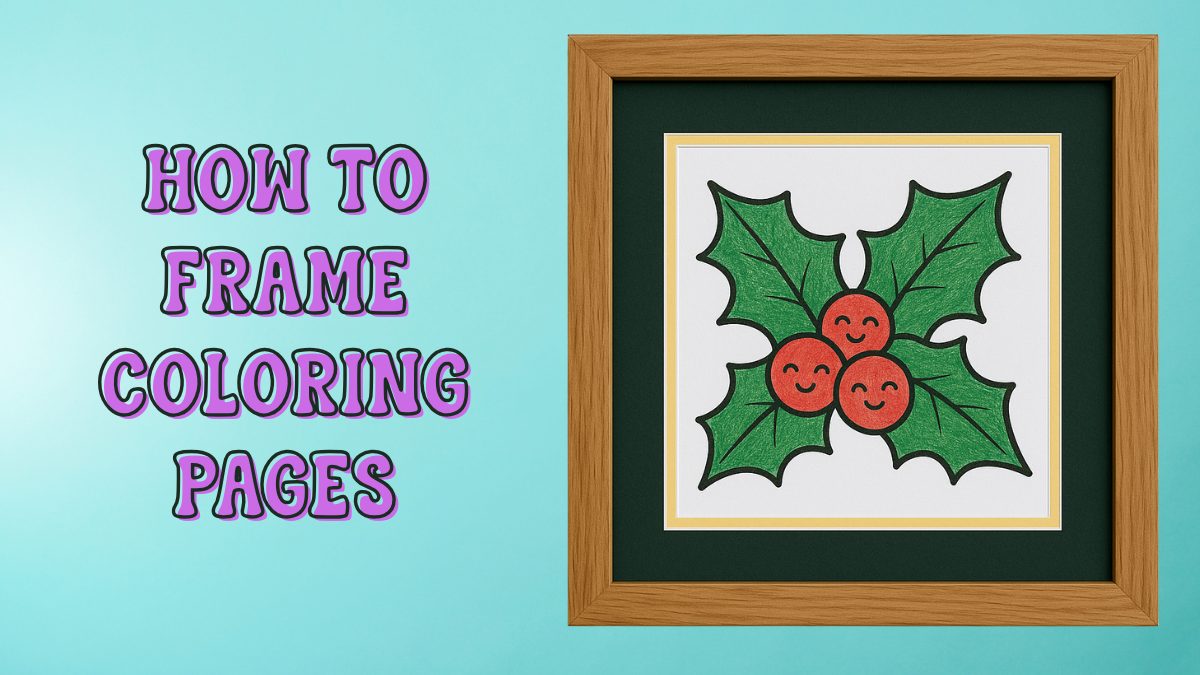
How to Frame Coloring Pages (Step-by-step Guide)
Why Frame Your Coloring Pages

Coloring pages aren’t just a fun creative break, they can look genuinely beautiful once framed. A good frame instantly turns your artwork into something polished, display-ready, and personal.
Whether it’s a page you’re especially proud of, something your child colored, or a design that matches your home décor, framing gives it a second life as wall art.
Framing is also perfect for moments that deserve a little extra magic: gifting a finished piece to someone special, creating a gallery wall of your favourite styles, decorating for holidays, or preserving a memory from a cozy coloring session. It’s a simple way to elevate something handmade into something worth showing off.
Step 1: Prepare Your Coloring Page
Before choosing a frame, it helps to get your coloring page looking its best. Most pages only need a minute or two of prep, but these small steps make a big difference once the artwork is behind glass.
Start by making sure the page is fully dry, especially if you used markers, gel pens, or paint. Gently smooth out any light bends or waves by placing the page under a heavy book for a few hours. If there are smudges or pencil marks you don’t want, lightly erase them with a clean, soft eraser.
Check the edges next. Some coloring books leave uneven borders or perforated edges, so trimming with a ruler and craft knife (for adults) can give the artwork a clean, neat finish. If the paper is very thin or slightly curled, you may want to back it with a simple sheet of cardstock later to help it sit flat inside the frame.
Once your page is smooth, clean, and dry, you’re ready for the next step: measuring it accurately so the frame fits perfectly.
Step 2: Measure Your Artwork Properly
Coloring pages come in all shapes and sizes, especially if you’ve torn them from a book or printed them at home, so taking a moment to measure your artwork is the key to choosing the right frame.
Start by measuring the height and width of the page using a ruler or tape measure. Measure the artwork itself and the paper edges, since both will affect the final fit. Be as accurate as possible to avoid choosing a frame that’s too tight or too loose.
If you prefer the artwork to fit snugly inside the frame, aim for exact measurements. Otherwise, you can add about ¼ inch of wiggle room on each side to make inserting the page easier – especially helpful with slightly curled or thicker paper.
Next, double-check the orientation: is your page meant to hang vertically (portrait) or horizontally (landscape)? It sounds obvious, but a quick check now avoids frustration later.
If your coloring page is smaller than any standard frame size, you still have easy options. Adding a mat can make a small piece look beautifully intentional, while using a plain backing sheet (like white or black cardstock) helps fill the extra space inside a larger frame without distracting from the artwork.
Once you have the measurements and the orientation sorted, you’re ready to pick the perfect frame.
Step 3: Choose Your Frame Style
Once you’ve measured your coloring page, it’s time to pick a frame that suits both the artwork and the space where it will hang. Here are the key things to consider.
Frame Material
Different frame materials can subtly change the overall look:
- Wood: Warm, classic, and great for cozy or traditional rooms.
- Metal: Sleek and modern, perfect for clean or minimal spaces.
- Plastic / Composite: Lightweight and budget-friendly, ideal for kids’ rooms or quick seasonal displays.
If you’re unsure which to choose, think about the room where the finished piece will live – match the vibe, not just the colors.
Frame Size
Coloring pages aren’t always standard sizes, so choosing the right frame matters.
- Standard frames work best when your artwork fits common measurements like 8×10, 11×14, or A4.
- Custom sizes are great for pages torn from books, printable designs, or anything slightly irregular.
This is why measuring twice saves time (and returns): even a few millimetres off can change how well the artwork sits inside the frame.
Frame Color
Your frame color can either blend in or make your artwork pop:
- White or light frames pair well with soft, pastel, or cozy pages.
- Black frames give bold or detailed pages a polished, gallery-style finish.
- Natural wood is a great neutral for earthy palettes, nature scenes, and warm tones.
- Colorful frames can echo a dominant shade in the artwork for a fun, cohesive look.
Let the colors in your page guide you – if the artwork is busy, simple frames work best; if the artwork is minimal, you can go bolder.
When to Add a Mat
A mat is a decorative border that sits between the artwork and the frame to give the piece breathing room and a more polished, professional look.

Mats aren’t just decorative, they make a big difference in presentation.
- Great for small pages that need more presence on the wall
- Useful for uneven or torn edges, hiding imperfections cleanly
- Creates breathing room between the artwork and the frame
- Gives a professional, finished look with almost no extra effort
A mat can turn a simple coloring page into something display-worthy and visually balanced.
For a full breakdown of frame materials, mats, and much more, see this detailed guide by Frame It Easy.
Step 4: Mount the Coloring Page in the Frame
Now it’s time to put everything together. Mounting your coloring page is simple when you follow these steps – just take it slow and keep everything clean.
1. Clean the glazing
Remove the frame’s front panel and gently wipe it with a soft, lint-free cloth.
2. Place the backing board down first
Lay the backing board flat on a clean surface. This gives you a solid base and helps you line everything up neatly.
3. Center your coloring page
Place your artwork face-up on the backing board. Adjust it until the borders look even on all sides.
Tip: Stand above it and look straight down, your eyes catch misalignment better from that angle.
4. (Optional) Secure the artwork with acid-free tape
If you want to keep the page perfectly centered, use acid-free artist’s tape. Apply a small hinge of tape along the top edge only, this keeps the artwork stable but still allows the paper to move naturally without warping. Avoid taping all four sides; it can cause ripples over time.
5. Close the frame
Carefully place the cleaned glazing on top, followed by the frame itself. Secure the frame tabs, clips, or latches depending on your frame style. Make sure everything feels snug but not overly tight.
6. Hold up the frame and check alignment
Turn the frame upright and give it a gentle shake. Is the artwork staying centered? Are the borders even? If anything looks off, open it back up and adjust.
Step 5: Hang & Display Your Finished Piece

With your coloring page framed, the fun part begins, finding the perfect place to show it off.
Use the right hanging hardware:
Light frames can hang on simple picture hooks, while heavier or larger frames may need wall anchors or a sturdier bracket. Always check the weight before choosing hardware.
Avoid direct sunlight:
Sun exposure can fade colored pencils, markers, and even printed pages over time. Choose a spot with soft, indirect light to keep your artwork looking vibrant.
Where to display it:
Framed coloring pages look great almost anywhere:
- Hallways
- Craft rooms and offices
- Kids’ bedrooms and playrooms
- Living rooms or entryways
- A dedicated art wall or gallery-style grid
Group multiple pages together:
If you love a theme, like cozy scenes, mandalas, or holiday designs, try arranging several frames in a row or grid. Matching frames create a clean, modern look, while mixing wood and color adds personality.
Try seasonal rotation:
Swap framed pages throughout the year: autumn leaves in October, festive designs in December, floral or spring pages in March. It keeps your walls fresh and makes your artwork feel new all over again.
With your frame up and your artwork displayed, your coloring page becomes a real piece of décor that brightens the space every time you walk by.
Common Mistakes First-Time Framers Make
Framing isn’t complicated, but there are a few easy-to-avoid mistakes that can save you a lot of frustration. Here are the most common pitfalls, and how to sidestep them:
1. Choosing the wrong size frame
The biggest issue by far. A frame that’s even a little too small or too big can make your artwork look off-center or cramped. Always measure the page first, then pick the frame.
2. Cutting the page before measuring
It’s tempting to trim rough edges right away, but cutting too early can throw off your final frame choice. Measure before you trim so you know exactly what size you’re working with.
3. Forgetting about mat overlap
If you’re using a mat, remember that mats slightly overlap the edges of your artwork. This is normal – it keeps the page in place – but it means you can lose a few millimetres of the border. Keep that in mind when choosing both mat and frame size.
4. Using the wrong tape (or too much tape)
Regular tape can yellow over time and damage the page. If you need to secure the artwork, use acid-free artist’s tape, and only hinge the top edge – never tape all four sides, which can cause wrinkles.
5. Hanging the finished piece in direct sunlight
Markers, pencils, and even printed designs can fade if exposed to bright sun for long periods. Pick a spot with gentle, indirect light to keep your colors vibrant.
By knowing these simple mistakes ahead of time, you’ll frame with confidence and your coloring pages will look their best for years to come.
Also see our guide on the best paper choice for printable coloring pages.