Online Coloring Tool User Guide
Welcome to our new Online Coloring Tool! This in-depth user guide will show you how to use each feature, whether you’re on desktop, tablet, or mobile.
1. Getting Started
How to launch and begin coloring:
- Open your browser and visit: https://coloringbunny.com/online-coloring/ (or any of the specific online coloring pages which can be found in the website navigation menu).
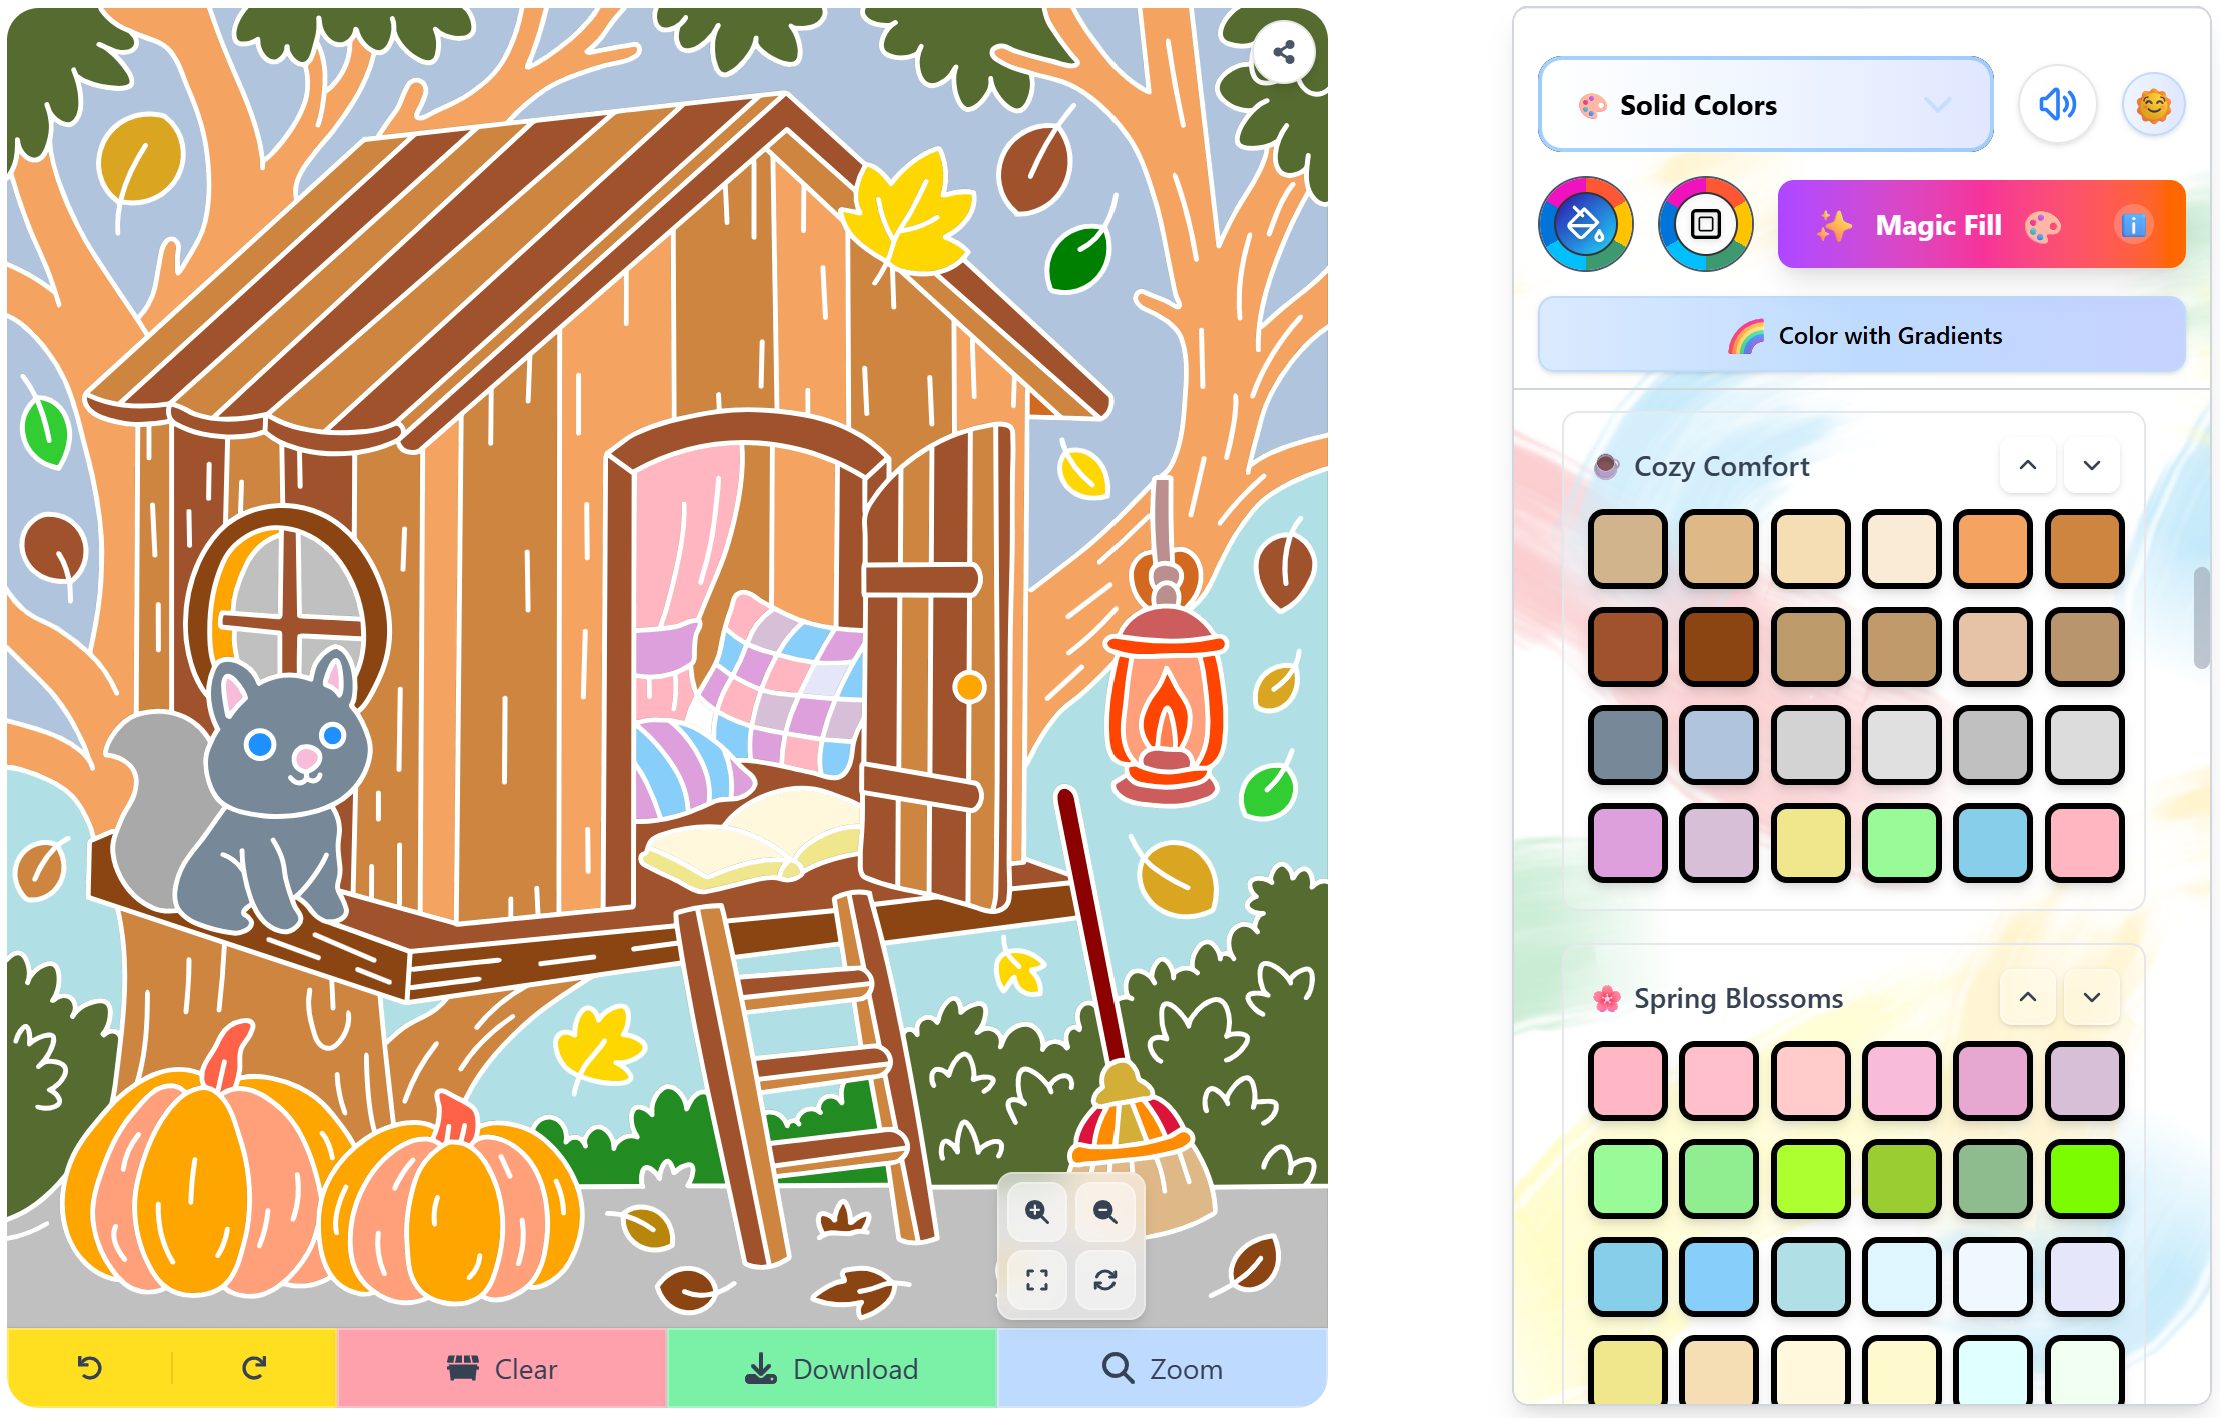
- Choose a coloring canvas from the library displayed (in the image below Cozy Fall was selected).

- The coloring canvas will load on the tool (in the image below the Cozy Cabin canvas was selected).

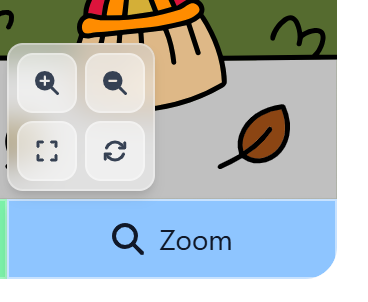
How to move around and zoom:
- Zoom in/out (top left and top right buttons): Alternatively, use a mouse wheel or touchpad, or pinch on touchscreen.
- Pan/Move: Click and drag (desktop) or drag with one finger (touchscreen).
- Reset View (bottom right button): Click the reset button to return to default view.
- Center View (bottom left button): Click the center button to return to the canvas center once zoomed.
3. Day and Night Mode
Easily switch between Day Mode and Night Mode by clicking the theme toggle button (sun/moon icon).

How it works:
- Click the theme toggle icon at the top right of the coloring tool.
- A short loading screen will appear while the theme changes.
- The website and coloring tool will update to match your chosen theme – either a bright, airy look for daytime or a darker, cozier look for night.

💡 Tip: Night Mode is perfect for low-light environments and can make colors pop more vividly on your screen.
4. Coloring Palettes
Selected Color
Clicking the Selected Color icon opens a color picker, giving you unlimited options for your solid color choice.

How to use:
- Choose any color by moving the circle inside the large color box to adjust the brightness and shade.
- Pick the hue from the color bar underneath.
- The HEX code for your selected color appears below – perfect if you want an exact match.
- You can also enter your own HEX code to instantly switch to a specific color.
Outline Color (Selected Pages Only)
Click the Outline Color icon to open the color picker and customize the lines of your coloring page.

How to use:
- Pick your hue from the color bar at the bottom.
- Adjust shade and brightness by moving the circle inside the large color box.
- The HEX code of your chosen outline color appears below.
- You can type or paste a HEX code to instantly switch to a specific color.
🕘 Recently Used
Head to the “Recently Used” tab to quickly access your latest colors.
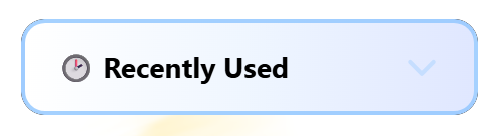
You’ll see a palette of both solid colors and gradients that you’ve recently used in the tool. The most recently applied color appears first, followed by earlier ones in order.

This is especially helpful if you want to reuse a color but don’t remember which palette it came from – no need to search through all your palettes!
🎨 Solid Colors
How to Use:
- Select “Solid Colors” from the top mode selector.
- Browse through the Color Palettes below to find a style you like.
- Click on any color swatch to activate it.
- Click or tap on your coloring page to fill a section with the selected solid color.
💡 Tip: You can reorder the palettes using the ↑↓ buttons to keep your favorites at the top!

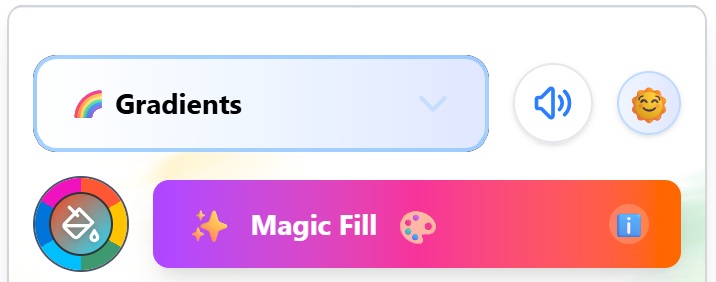
🌈 Gradients
How to Use:
- Select “Gradients” from the top mode selector.
- Browse through the Classic Gradients palette or others below to find a combination you love.
- Click on any gradient swatch to activate it.
- Click or tap on your coloring page to fill a section with the selected gradient blend.
🖌️ Gradients flow naturally across shapes, making them perfect for backgrounds, skies, and any area where you want a more dynamic, painterly effect.
You can switch back to solid colors anytime using the “Color with Solid Colors” button just below Magic Fill.
💡 You can also reorder the gradient palettes using the ↑↓ buttons, just like you can with solid colors!

Create Custom Gradient
To begin creating custom gradients or browsing gradient palettes, first select “Gradients” from the dropdown menu.
Then click the ‘Create Custom Gradient’ button.

You can create smooth, multi-color gradients using the Gradient Editor. Choose between Linear and Radial styles, adjust their direction, center, radius, intensity, and define custom color stops to fully control the look of your fill.
Linear Gradient (Step-by-Step)
A linear gradient blends colors in a straight line across your selected shape. Follow these steps to customize it:
1. Select “Linear” Mode

Click the Linear button at the top of the Gradient Editor. The button will turn blue when active, and the Radial button will become inactive (greyed out).
2. Preview Area

The rectangle under “Preview” will show a live preview of your gradient only once color stops are added.
3. Gradient Direction

Use the circular dial to control the angle of the gradient:
Drag the blue dot around the circle to set the angle. The direction is shown numerically (e.g., 0°, 90°, etc.).
- Examples:
- 0° → Bottom to top
- 90° → Left to right
- 135° → Top Left to Bottom Right
- 180° → Top to bottom
- 270° → Right to Left
4. Intensity Slider

Adjust how strong the gradient appears:
- 100% = Fully vibrant color fade
- 0% = Barely visible gradient effect
- Slide left to reduce intensity or right to strengthen it.
5. Color Stops

Define the colors used and where they appear along the gradient.
- Use the Color field to select a color (or paste a hex code).
- Set the Position (%) to place the color stop along the line.
- Example:
- Color #7C58FE at 0% (start)
- Color #FC4DFF at 50% (middle)
- Color #FFD6FA at 100% (end)
- Creates a purple-to-pink diagonal fade.
Click “Add Color” to insert a new color stop.
In the example above an additional color stop has been added at 50%.
This lets you add additional colors to your gradient, allowing for smooth transitions between multiple shades. You can create subtle blends or bold multi-color effects by adding and adjusting these stops.
6. Apply or Cancel

- Apply: Saves and applies your linear gradient.
- Cancel: Closes the editor without making changes.
Radial Gradient (Step-by-Step)
A radial gradient fades outward in a circular pattern from a center point. Here’s how to create one:
1. Select “Radial” Mode
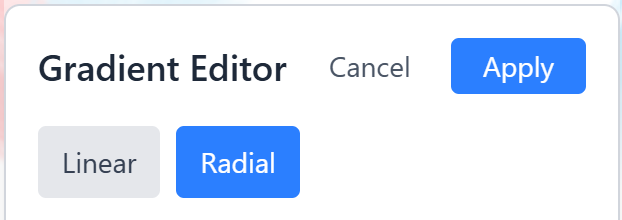
Click the Radial button at the top of the Gradient Editor. The button turns blue when active, and Linear becomes inactive.
2. Preview Area
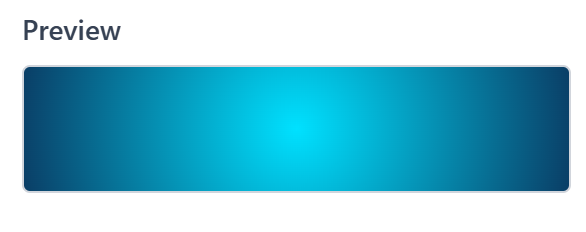
The preview box shows a real-time preview of your radial gradient as you adjust its settings.
3. Gradient Center

Use the circular grid to set where the gradient begins:
- Drag the blue dot to position the gradient’s center.
- Coordinates are shown below (e.g.,
50, 50= center of the shape). - Example:
- 50, 50 → Centered gradient
- 25, 75 → Bottom-left offset
This allows for dynamic off-center lighting effects or depth.
4. Radius Slider
Controls how far the gradient reaches:
- 0% = Tight, concentrated fade
- 100% = Gradient fills entire shape
- Example:
- Radius 30% → More subtle, center-focused fade
- Radius 100% → Full circular coverage
5. Intensity Slider

Same function as in linear: controls the overall gradient visibility.
- 100% = Full strength
- 50% = Faded, soft blend
6. Color Stops
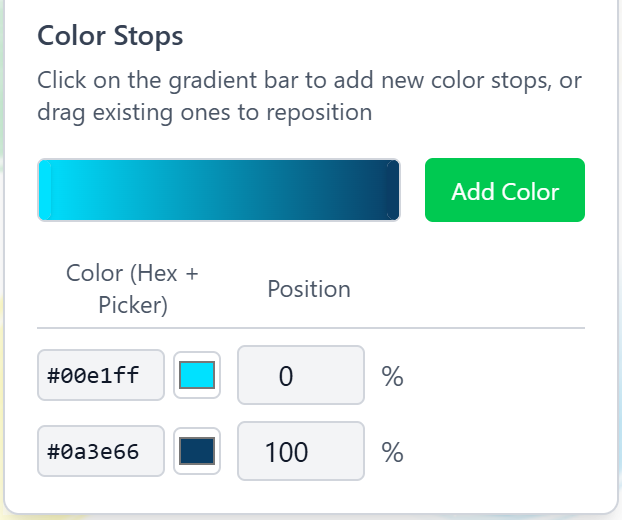
Same as linear – define colors and their distance from the center.
- Example:
- Color #7C58FE at 0%
- Color #000000 at 100%
- Result: Blue to Darker Blue Radial Gradient
You can add more stops for layered effects.
7. Apply or Cancel
- Apply: Applies the radial gradient to your selection.
- Cancel: Discards all changes and closes the editor.
Edited and Saved Gradients
This section is your personal gradient collection! Any time you create or customize a gradient, it’s automatically saved here for quick access at the top of all palettes by default.
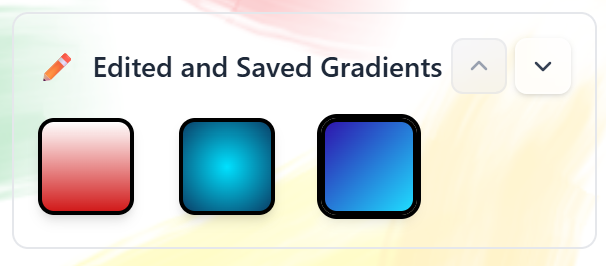
How it works:
- Editing a default gradient (by double-clicking it) and clicking apply will instantly create a new version and store it in this area.
- Creating new custom gradients will save here.
- These saved gradients remain available as long as your browser storage is preserved.
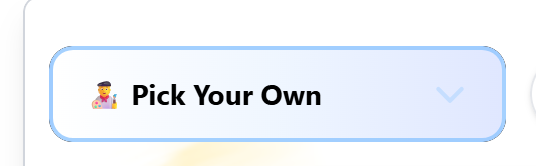
👨🎨 Pick Your Own
How to Create Your Own Color Palette:
Select “Pick Your Own” from the dropdown menu.
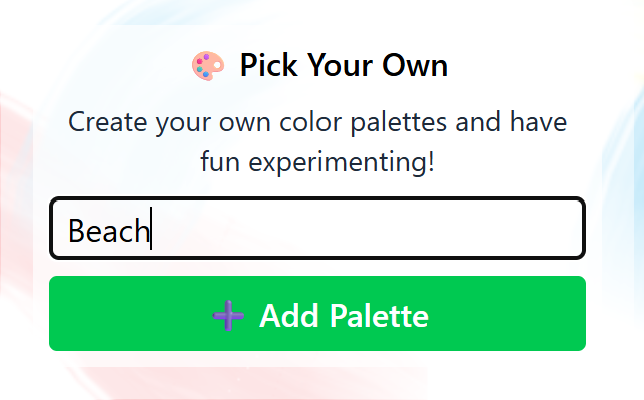
Name your palette, then click “+ Add Palette” to create a new one.
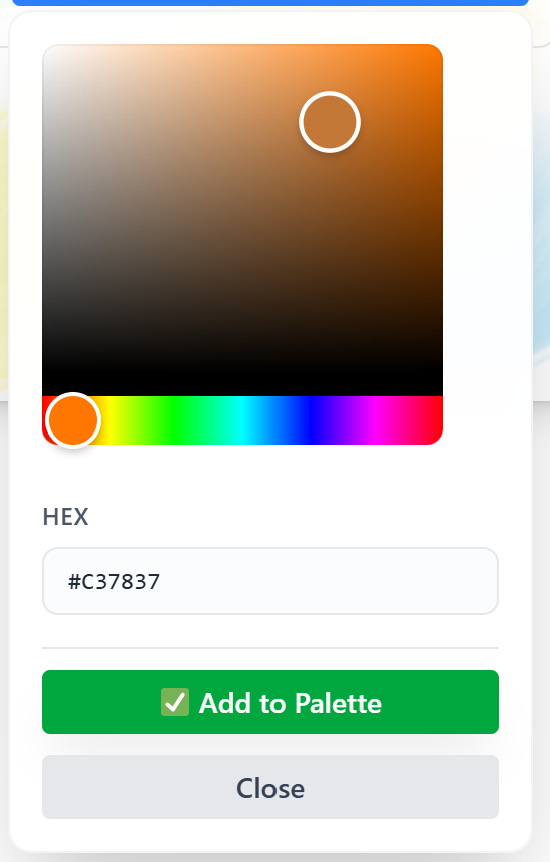
Click “+ Add Color to Palette” once named.

Choose a color from the wheel or enter a HEX code, then click “Add to Palette”.
Repeat to add more colors. When you’re ready, click the save icon to store it in your ‘Solid Colors’ tab – or click the X to remove the palette. Alternatively you can view all palettes you’ve made on the ‘Pick Your Own’ tab.
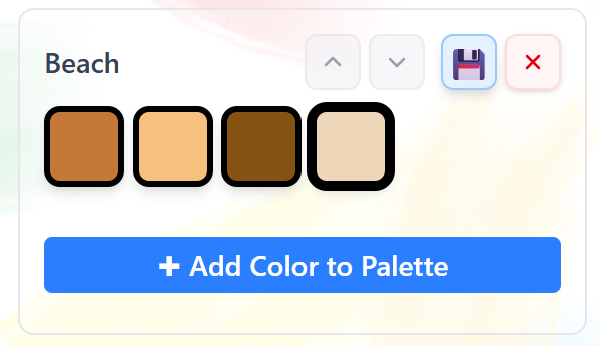
Your custom palette will now appear on the main Solid Colors screen. You can reorder it or delete it anytime.

🤖 AI Generated
Let our AI generator help you create the perfect color palette combinations in just a few clicks!
Select “AI Generated” from the dropdown menu.
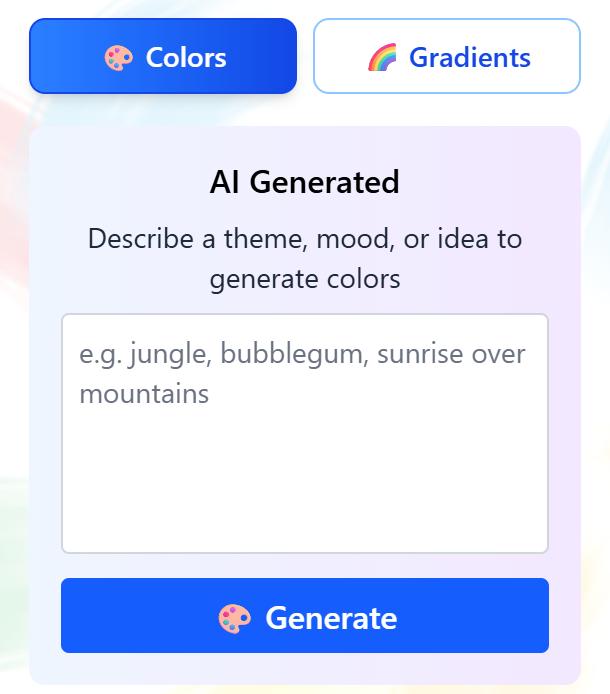
Choose between Solid Colors or Gradients depending on your project.
AI Solid Colors: Type in a theme, mood, or idea (like “sunset,” “underwater,” or “vintage”) and the AI will generate a custom set of solid colors to match.
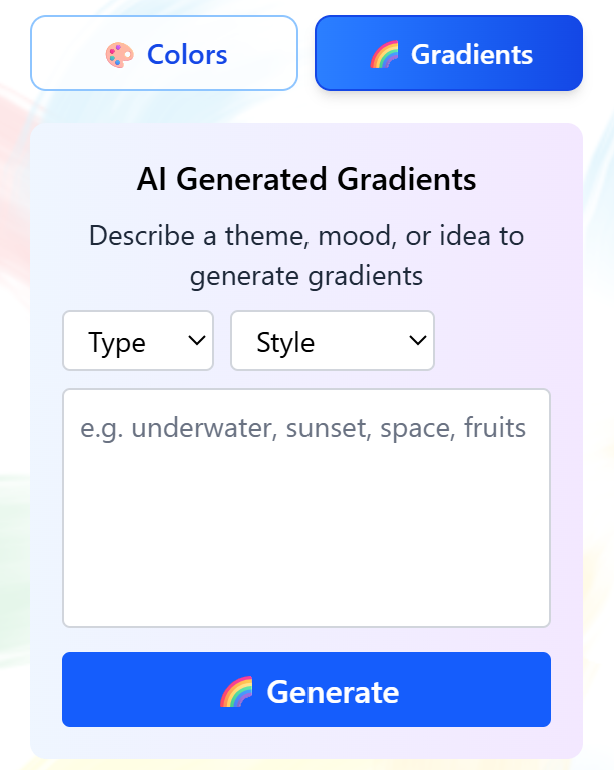
AI Gradients: Use the dropdown menus to guide the AI with options like Linear or Radial and different styles. You should also add a text prompt to fine-tune your results and generate the themed palette you are looking for.
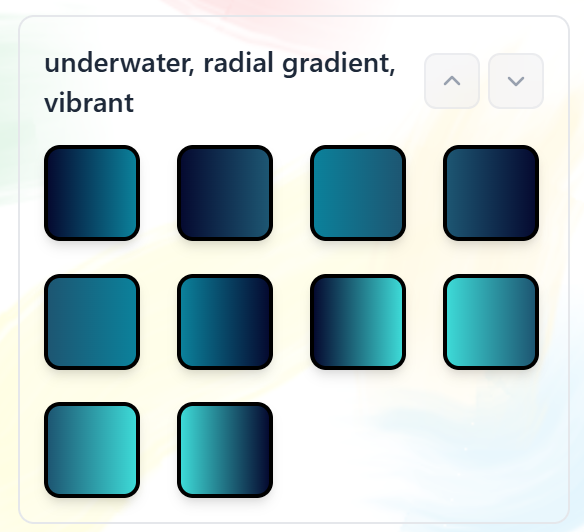
Here’s an example AI gradients palette, Linear Type, Vibrant Style and Underwater description:
✨ Magic Fill (Desktop Only)
Magic Fill is a playful and creative feature that automatically applies a random color or gradient with every click – perfect for quick and surprising results!
How to Use:
- Click the Magic Fill button (visible from any tab) to activate it. Once active, the button will say “Magic Mode On.”
- While in Magic Mode, every click on your page will apply a random color.
- Click again on any section to change its color instantly.
Switching Color Types: While Magic Mode is on, you can toggle between Solid Colors and Gradients depending on your style.

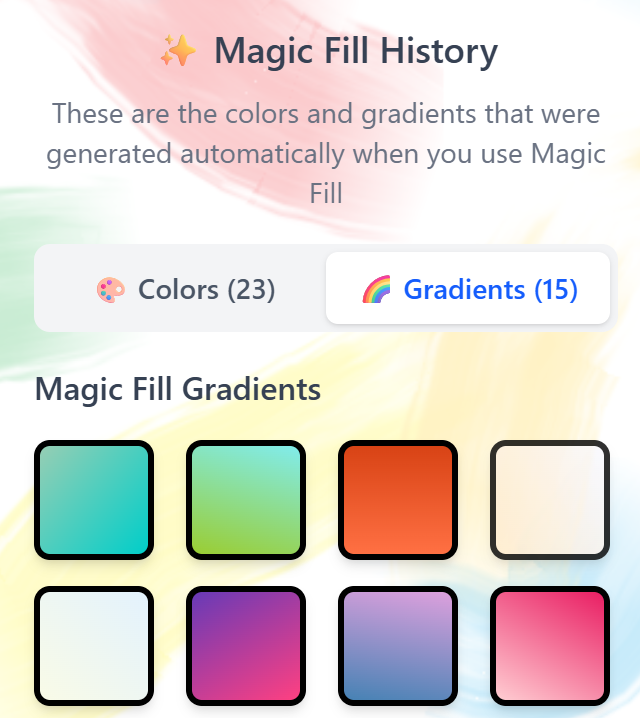
Select the “Magic Fill” tab to activate Magic Mode manually or view your color history.
Below the toggle, you’ll see a list of the previously applied magic colors, in the order they were used – great for grabbing a color you loved!
💡 Tip: Magic Fill is great for experimentation or when you’re feeling creatively stuck.
5. Undo, Redo and Clear
- Undo: Reverts your last action
- Redo: Re-applies an undone action
- Clear: Removes all color from the page, so you can start from scratch (clicking undo reverses this action).

6. Save, Download & Print
Autosave: Your progress is automatically saved in your browser, so you can leave a page and return later to pick up right where you left off – no need to start over.

Download options: You can download your finished coloring pages in PDF, PNG, or JPEG formats, each with customizable settings to suit your needs.
PDF downloads: Ideal for both printing and digital sharing.
- Color Modes: Choose CMYK (best for professional printing) or RGB (best for screens).
- Paper Sizes: Letter, A4, Legal, or Tabloid.
- Quality Settings: Pick from 6 levels, ranging from smaller file sizes to ultra-high resolution.
- Extra Options:
- Option to hide the page title.
- Watermark is included by default.
PNG Downloads: Great for high-quality digital images.
- Transparent Background: Optional checkbox for clean cutouts.
- Resolution Choices: Multiple options that scale file size and detail.
- Extras:
- Option to hide the title if preferred.
JPEG Downloads: Smaller file sizes with solid quality – perfect for sharing.
- Resolution Options included.
- Same settings as PNG, except no transparent background.
Printing: For the best results, we recommend downloading your coloring page as a PDF that matches the paper size you’ll be printing on (e.g., Letter or A4). Then, simply print the PDF from your device for a clean, high-quality result.
See our guide on printing coloring pages.
7. Generate New Image & Previous Image
When you first open a canvas, you’ll see the “Generate New Image” button. Clicking this will randomly select a new image from the project or collection you’re currently coloring from.
Once you’ve generated a new image, the “Previous Image” button will appear. This allows you to quickly go back to the last image you viewed – perfect if you change your mind or want to return to a previous favorite.

This makes it easy to explore new designs without losing track of what you’ve already seen.
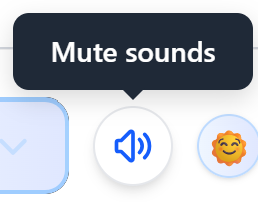
8. Sounds
The Mute Sounds button lets you quickly turn off all tool sound effects. By default, you’ll hear short audio cues when:
- Clicking to apply a color to your page.
- Switching between swatches in your color palettes.
To mute these sounds, simply click the speaker icon. The icon will update to show that sounds are muted. Click it again to unmute and bring the sound effects back.
This is especially useful if you’re coloring in a quiet environment or prefer a completely silent creative session.
9. Troubleshooting
❓ My coloring progress doesn’t save when I come back!
Answer:
The online tool saves your progress automatically in your browser’s cache on the same device and browser you used before.
If your progress is missing, it may be because:
- You cleared your browser cache or history
- You’re using a different device or browser
- You’re in incognito/private browsing mode
To avoid losing progress, make sure you’re using the same browser and device – and avoid clearing your browser data.
Note: Your work is saved only on your device and is not stored online or linked to an account. If you’d like to keep a copy, you can always download the page when finished.
❓ Can I color on mobile?
Yes! The tool works smoothly on most mobile and tablet devices.
For the best experience:
- Use an up-to-date browser (e.g., Chrome, Safari)
- We recommend using the tool on a desktop.
❓ Why do I see a hand cursor when hovering over the page?
When you see the hand cursor 🖐️, it means you’re hovering over an area that isn’t colorable (usually linework). Note that you can change the color on the linework via that specific feature.
When the hand is visible, you can click and drag to move the design around the canvas – especially helpful when you’re zoomed in and want to reposition the artwork.
💬 Need Help?
For support or feedback, email us at: [email protected] or leave a comment below.
Found a bug? Please let us know – we will implement a fix and post it on our Updates page.