
DIY KPop Demon Hunters Lantern Craft (Step-by-Step Tutorial)


Looking for a fun, creative coloring craft with a KPop twist? This step-by-step guide shows you how to design, color, and assemble your own KPop Demon Hunters paper lantern, featuring Rumi, Zoey, and Mira. It’s perfect for cozy evenings, decorations, themed parties, or a fun creative project at home.
You’ll create glowing lantern panels, then decorate them with your favorite Huntrix characters, and music-inspired designs. Once finished, a battery-powered tealight brings the whole lantern to life with a warm, cozy glow.
⚠️ Adult Supervision Required. This craft includes steps that use scissors, glue, and careful folding, so adult supervision is essential. Some steps should be completed by an adult or with close supervision.
What You Will Need
- Blank sheets of card or paper (A4, Letter, or ideally larger)
- Pencil and eraser
- Optional: Ruler
- Scissors (safety scissors for children)
- Non-toxic coloring supplies (colored pencils, crayons, or markers)
- Tissue paper (for lantern windows)
- Non-toxic glue stick
- Battery-powered tealight
Safety Notes
- Scissors: Use child-safe scissors where possible. Adults should cut out the lantern windows or closely supervise.
- Ruler & Folding: Adults may need to help with measuring and folding to keep panels even and secure.
- Glue: Always use non-toxic, child-safe glue.
- Tissue Paper: Tissue paper is delicate and can tear easily; adults may need to assist with cutting and positioning.
- Battery Tealight Only: Never use real candles. Paper lanterns are flammable.
- Work Surface: Use a clean, flat surface. A cutting mat is recommended, and sharp tools should be stored safely when not in use.
- Display: Once finished, place lanterns away from heat, water, or young children.
DIY KPop Demon Hunters Lantern Step by Step Guide
Step 1: Prepare the lantern strip
Start with one long strip of card or sturdy paper. This strip will become the body of your lantern, so it needs to be long enough to fold into four panels.
Each panel (one side of the lantern) should be at least 10–12 cm wide. This gives enough space inside for a battery-powered tealight to fit comfortably and glow properly.
The height of the strip should be around 15 cm or taller for the best proportions and a nice lantern shape.
Once folded, the strip will form a square lantern with four sides.
💡 Tip: If you don’t have a sheet of paper or card that’s long enough, you can join two smaller pieces together. Simply overlap and glue or tape them securely, making sure the panels stay evenly sized.

Step 2: Add a joining tab and fold
Before you mark out the four main panels, create a small joining tab at one end of the paper strip and fold.
This tab will be used later to attach the first and last panels together, forming the lantern shape.
Make the tab at least 1.5-2 cm wide so there’s enough space to apply glue securely.


Step 3: Fold the lantern panels
Now it’s time to create the four window panels.
- Lay the card flat and ignore the small tab for now.
- Fold the long strip in half, lining up the edges carefully.
- Then fold it in half again, creating four equal sections.
- When you unfold the card, you should see four evenly sized panels marked by fold lines. These will become the four window sides of your lantern.


Step 4: Draw the window openings
With the card unfolded, draw the window shapes on each panel.
On each of the four panels, lightly sketch a rectangle in pencil. Make sure all four windows are the same size for a neat, even look.
Leave a border of at least 1.5–2 cm around each window so the lantern stays sturdy.
These penciled rectangles will be cut out next to create the glowing windows.

Step 5: Cut out the windows
Carefully cut out each of the penciled window shapes.
Use scissors or a craft knife to remove the rectangular window areas from all four panels. Take your time so the edges stay neat and even.
⚠️ Safety note: An adult should complete or closely supervise this step, using safety scissors where possible.


Step 6: Decorate the window borders
Color the border around each window to add decoration and help the panels stand out.
Use markers, crayons, or colored pencils to color the frame around each cut-out window.
This step adds extra detail and makes the lantern look more vibrant once it’s lit up.

Step 7: Prepare the tissue paper panels
Cut out four pieces of tissue paper, one for each window.
Each piece should be slightly larger than the window opening, covering the entire cut-out area and the colored border around it.
This ensures the tissue paper fully covers the window from the inside with no gaps.

Step 8: Attach the tissue paper
Turn the lantern strip over so you are working on the back side of the windows. Using non-toxic glue, carefully attach each piece of tissue paper to the inside of the lantern, pressing gently so it sticks flat and covers the window completely.


Step 9: Form the lantern shape
Apply glue to the joining tab you created earlier. Carefully bring the first and last panels together, lining up the edges evenly.
Press the glued tab firmly onto the inside of the final panel to secure it in place. Hold for a few seconds until the glue grips, then allow it to dry fully. Your lantern should now be standing in a complete lantern shape.


Step 10: Create the decorations
Use card or paper to draw KPop Demon Hunters-inspired decorations such as hearts, stars, musical notes, and microphones.
Color them in using markers, crayons, or colored pencils so they stand out against the lantern panels.
Carefully cut out each design, ready to glue onto the lantern.
You can also include extra fun characters like Derpy and Sussie if you’d like to personalise your lantern even more.

Step 11: Create the character cut-outs
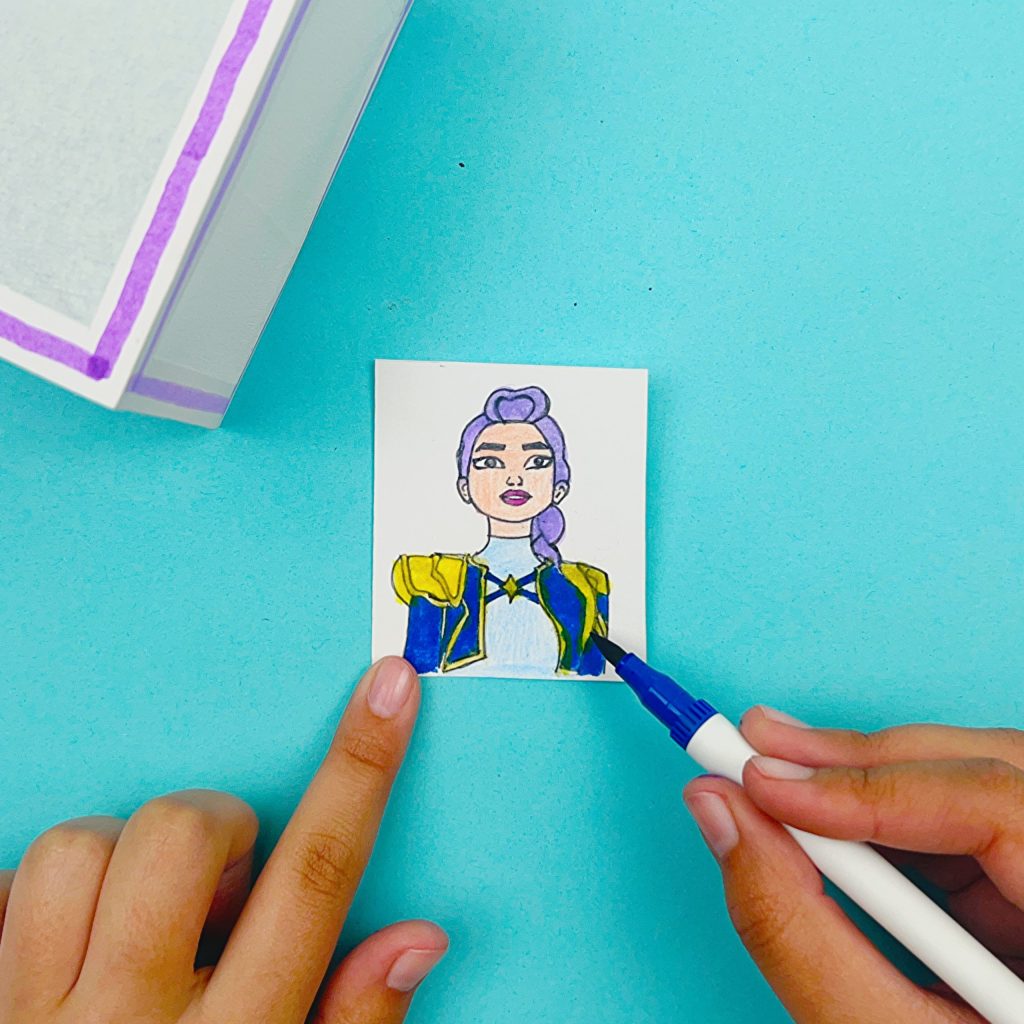
Now for the fun part! Draw, color, and cut out Rumi, Zoey, and Mira on small pieces of card.
- Sketch each character on separate small pieces of card or paper.
- Outline the drawings with a marker if needed, then color them in so they’re bold and easy to see on the lantern.
- Carefully cut out each character, keeping close to the edges.
These character cut-outs will be glued onto the lantern panels to bring your KPop Demon Hunters lantern to life.




Step 12: Prepare the decorations for assembly
Gather all of your finished KPop Demon Hunters decorations and lay them out.

Step 13: Decorate the main panel
Choose how you’d like to arrange the main characters on your lantern.
For the main panel, we recommend sticking Rumi, Zoey, and Mira together to create a standout feature. Alternatively, you can place one character on each panel if you prefer a more spread-out design.
There’s no right or wrong layout, arrange the characters in a way that feels fun and balanced to you.


Step 14: Add the light
Make sure the lantern is standing upright and stable. Place a battery-powered tealight into the center of the lantern.
⚠️ Safety Note: Always use battery-powered lights. Never use real candles, as paper lanterns are highly flammable.


Step 15: Light it up
Turn off the room lights and switch on the battery-powered tealight.
Watch as Rumi, Zoey, and Mira glow through the tissue paper panels, lighting up the room and bringing your KPop Demon Hunters lantern to life.


We hope you enjoyed making and coloring your lantern! For even more fun, be sure to explore our KPop Demon Hunters coloring pages, free to print or color online.
